How to Install a Home AC WallBox Charger Easily and Effectively?
Installing a Home AC WallBox Charger can seem daunting. However, with the right guidance, it becomes a manageable task. This essential device allows electric vehicle owners to charge their vehicles efficiently at home. The convenience of a Home AC WallBox Charger enhances your EV experience, saving you time and effort.
In the process of installation, various factors come into play. Proper placement is crucial for safety and efficiency. You’ll need to choose an appropriate location, considering distance from the electrical panel. Moreover, you must ensure compliance with local electrical codes. Mistakes can lead to inefficient charging or even safety hazards.
While the installation might present challenges, the benefits outweigh these concerns. A reliable installation offers peace of mind. Successful charging relies on attention to detail. Be prepared to encounter minor obstacles along the way. Reflecting on this process will not only improve your skills but also enhance your understanding of electric vehicle infrastructure. A well-installed Home AC WallBox Charger will ultimately contribute to a smoother, more sustainable future.
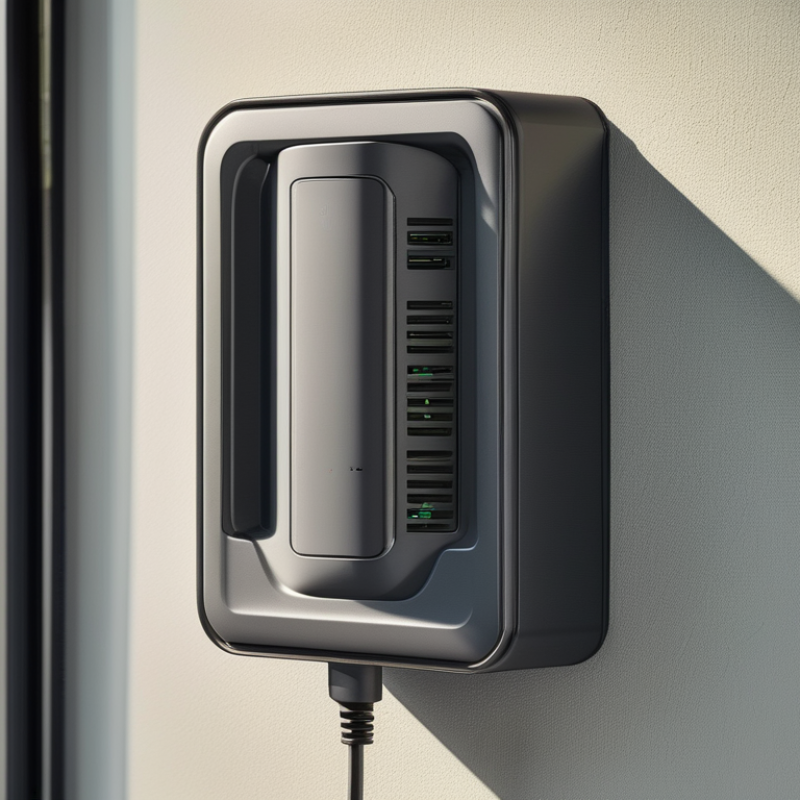
Understanding the Basics of Home AC WallBox Chargers
Home AC WallBox chargers play a critical role in electric vehicle (EV) infrastructure, allowing efficient charging at home. Understanding their components is key for installation. These chargers typically operate at 240 volts, delivering faster charging compared to standard outlets. According to the U.S. Department of Energy, a Level 2 charger can replenish an EV's battery three to seven times quicker than a regular home outlet.
When considering installation, it’s essential to assess your electrical system. Not all homes can support the additional load. A professional electrician can evaluate your setup to ensure safety and efficiency. It’s important to note that homes built before the 1990s may require electrical upgrades. Regular maintenance checks on the charger ensure optimal performance and longevity.
Tip: Always check for local incentives. Some regions offer rebates for installing EV chargers.
Consider placement carefully. The charger should be easily accessible but protected from harsh weather. This prevents wear and tear over time. Also, installing a dedicated circuit can prevent power overloads. Avoiding cheap components can be tempting, yet investing in quality ensures a safer, more reliable system.
Tip: A smart charger can optimize energy use by adjusting charging times based on utility rates.
Installing a home AC WallBox charger may seem daunting. However, understanding the basics simplifies the process. Data indicates that home charging accounts for roughly 80% of EV charging needs. As the market grows, reliability and safety are paramount.
Choosing the Right Location for Your WallBox Charger Installation
Choosing the right location for your
WallBox charger installation is crucial. A well-thought-out spot can enhance charging efficiency. Aim for a
location close to your parking space. This minimizes cable stretch and makes connections easier. A
distance of no more than 20 feet is ideal for most setups.
Consider weather exposure. Install the charger in a sheltered area if
possible. Direct sunlight can affect its longevity. Rain can pose risks too. If the charger is exposed,
consider using protective covers. Accessibility is another vital factor.
Make sure it's easy to reach the charging port of your vehicle.
Think about the power source. The charger should connect to your
electrical panel efficiently. Avoid long wiring runs, which could lead to voltage drop issues.
Have a licensed electrician assess your home’s electrical capacity. They can guide you on the safest and
most effective installation practices. Making these considerations will ensure a hassle-free experience while
charging your electric vehicle.
Required Tools and Materials for Installing a WallBox Charger
Installing a Home AC WallBox Charger requires specific tools and materials. Proper preparation ensures a smooth installation process. Essential tools include a drill, screwdriver, wire cutter, and pliers. It’s also wise to have a voltage tester. According to industry reports, using the right tools can reduce installation time by up to 30%.
Wiring materials are equally important. You’ll need high-quality electrical cables, connectors, and protective conduit. A conduit protects the wiring from physical damage and wear. Experts recommend using at least a 6-gauge wire for optimal safety and performance. This choice can handle the electrical load efficiently. A voltage meter is vital to check the power supply before installation.
Some homeowners overlook safety equipment. Insulated gloves and safety goggles are critical. These can prevent accidents during installation. Industry data highlights that improper handling of electric components leads to 20% of all installation accidents. Double-checking connections and ensuring grounding can prevent future issues. Remember, this project requires precision and caution. Mistakes may lead to costly repairs.
Step-by-Step Installation Process for Home AC WallBox Chargers
Installing a home AC WallBox charger can seem daunting. However, breaking it down into manageable steps makes the process smoother. According to the U.S. Department of Energy, residential electric vehicle (EV) charging requirements might differ. Most home chargers require a dedicated circuit of 240 volts for optimal performance. This ensures your charger operates safely and efficiently.
Begin by selecting a location for the charger, ideally close to your vehicle’s parking spot. The National Renewable Energy Laboratory emphasizes proper installation to avoid long extension cords. Next, ensure you have the right tools. Wire cutters, screwdrivers, and a voltage tester are essential for this task. You may need professional guidance to comply with local electrical codes. This is especially true if you’re unsure about your electrical panel’s capacity.
Wiring the charger involves connecting it to the electrical panel. It is crucial to follow the manufacturer's instructions closely. Many homeowners face delays due to missing permits or unexpected complications. Assess your current setup before starting the installation. Technical missteps can lead to costly repairs. Once installed, remember to regularly check for wear and tear. Keeping your charger in top condition prolongs its lifespan, enhancing its overall reliability.
Ensuring Safety and Compliance During the Installation Process
Installing a home AC wall box charger requires attention to safety standards and compliance regulations. According to the National Fire Protection Association (NFPA), improper installations can lead to electrical hazards, including fire risks. Therefore, it’s crucial to follow local codes and manufacturer instructions closely.
When preparing for installation, ensure you have a qualified electrician review your site. They can check whether your existing electrical system can handle the added load. The U.S. Department of Energy indicates that improper installations account for nearly 30% of home charging issues. These risks can cause equipment damage or pose safety hazards.
Tip: Always verify the grounding of your electrical system. A reliable ground connection can significantly reduce risks.
Before beginning the installation, take into account the charger’s location. Proper placement ensures proximity to your vehicle while minimizing cable clutter. Following the National Electric Code (NEC) guidelines can also help ensure compliance. Remember that local regulations may vary, and staying informed is essential.
Tip: Consider installing a dedicated circuit for the charger to avoid overloading your home’s current system.
During the installation, ensure all connections are tight and secure. Loose connections can lead to electrical arcs, increasing fire risks. It’s advisable to use high-quality materials to minimize the chances of malfunction. Even small oversights can have serious consequences, so double-check your work.



 Phone
Phone Send Email
 whatsapp
 Facebook
 Youtube